x
With digital tools more accessible than ever and creative industries flourishing from Vancouver to Halifax, turning that spark into polished animation no longer feels reserved for big studios. Whether you dream of working on games, films, indie shorts, or simply want a new creative outlet, there’s never been a better moment to start exploring this artform.
When people first look up free 3D animation courses, they often bump into random videos and playlists. It can feel messy and unstructured, especially if you just want a clear path from first idea to finished animated shot. Let’s break down what 3D animation really means, and where Blender and those free tutorials actually fit in.
3D animation basically turns a story idea into moving images built with digital geometry, materials, lights, and cameras. You start with a concept, then move into modelling simple shapes, adding colour and textures, placing lights, and framing everything with a virtual camera. Even if most free resources are just scattered clips, they still follow this pipeline: model, shade, light, animate, render. Once you recognize those steps, random YouTube playlists feel less confusing, because you can pick videos that match the stage you are working on instead of trying to swallow everything at once.
| Stage in 3D pipeline | Typical beginner focus in Blender | Extra practice idea that extends beyond basic tutorials |
|---|---|---|
| Idea & concept | Rough sketches, simple story beats, collecting visual references inside a folder or moodboard | Rewrite a short scene from a favourite film as a tiny 3D moment, describing what you would show in one shot |
| Modelling | Blocking out props and environments with cubes, cylinders, and planes | Rebuild the same object at three detail levels (very simple, medium, slightly refined) to feel how complexity changes workflow |
| Shading & materials | Using Principled BSDF, basic colour, roughness, and metallic controls | Create “material families” (wood set, metal set, fabric set) you can reuse across several scenes for visual consistency |
| Lighting & cameras | Adding area lights, point lights, and a simple camera move | Try lighting the same scene as “day,” “night,” and “horror” to see how mood changes without touching the models |
| Animation & render | Keyframing transforms, previewing in Eevee, exporting a short clip | Animate a very short loop (2–4 seconds) that could play endlessly, like a sign swinging or clouds drifting |
Blender is a free, open‑source 3D tool, so you can install it on your laptop at no cost and follow along with almost any beginner tutorial. The online resources are not organized like a formal course catalog, and there is no neat table of levels or hours, but you still get a ton of value: short projects, scene breakdowns, and character animations you can copy step by step. A practical approach is to treat one creator’s beginner playlist as your “course,” then branch out for specific skills like rigging or lighting once you are comfortable with the basics.
Getting into free 3D animation courses can feel overwhelming, especially when every tutorial throws new buttons at you. The truth is, beginners who slow down, follow a phased path, and repeat the same core skills tend to stick with Blender longer and actually finish projects.
The first couple of weeks in most free courses focus on comfort, not fancy effects. You learn to orbit, pan, and zoom smoothly, select things without misclicking, and switch workspaces so Blender starts to feel like home. Then the lessons move into simple modeling: mugs, tables, or tiny props built from basic shapes. Tools like Subdivision Surface and Mirror modifiers show up early, but the real lesson is clean topology and undoing mistakes without panic. By reusing the same ten or so operations—extrude, loop cut, apply transforms—you begin building real muscle memory instead of chasing shortcuts.
After that foundation, free courses usually slide into materials and lighting. You start playing with the Shader Editor, Principled BSDF, and a few light types to make scenes look believable in Eevee, even if the models are simple. Around the second or third month, many tutorials push you to build a tiny full scene, like a bedroom corner, then light and render it. From there, you can branch into animation with classic bouncing ball exercises or try sculpting. Structured, project-based lessons—like sword-in-stone style builds—keep things fun and prevent burnout, because you see real, finished results instead of endless practice cubes.
| Learner type | How they usually approach Blender | Likely strengths after a few months | Likely gaps to watch for |
|---|---|---|---|
| “Button explorer” | Clicks through menus, tests features with no clear project | Broad familiarity with many tools, comfortable experimenting | Weak fundamentals in topology, lighting, and file organization |
| “Project chaser” | Follows cool-looking tutorials from start to finish | A small portfolio of finished shots, motivation from visible results | Limited ability to adapt when a tutorial does not match their exact idea |
| “System builder” | Creates a written plan, repeats core exercises regularly | Strong muscle memory for navigation, selection, modelling basics | May progress more slowly on flashy renders and character work |
| “Shortcut hunter” | Searches tips and add‑ons that promise “faster” workflows | Good at using specific helpers like modifiers and plug‑ins | Risk of struggling when tools change or are unavailable in a new pipeline |
If you are in Canada scrolling through options for free 3D animation courses, it can feel like standing in front of an endless buffet. YouTube, free trials, low‑cost platforms, even AI tools all promise quick results, but the “fastest” path really depends on how you like to learn and what your long‑term goals are.
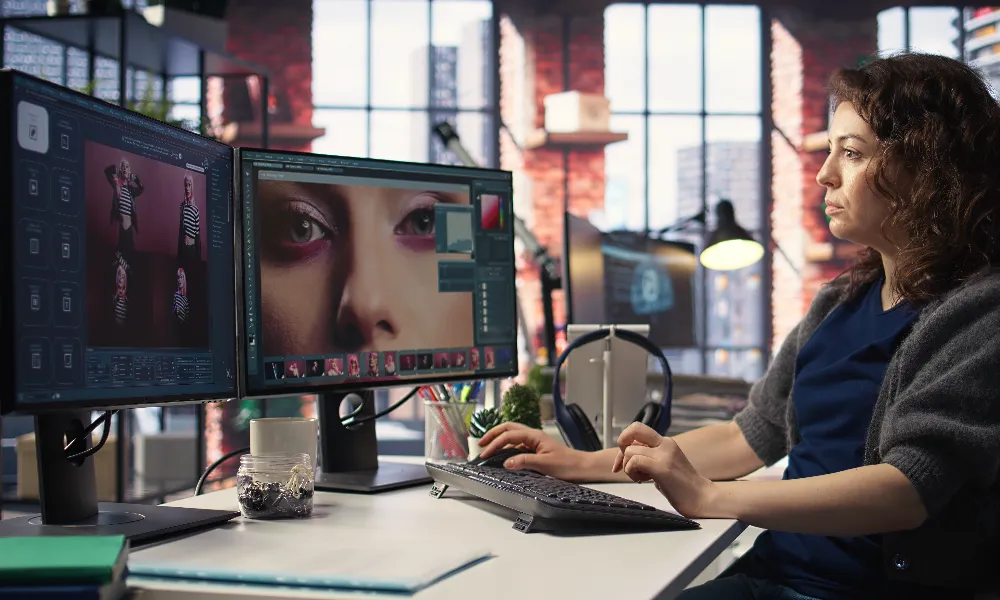
YouTube is usually the quickest way to dip your toes in. You search “beginner Blender,” click a playlist, and you are modelling a coffee cup or animating a bouncing ball the same evening. The upside is zero cost, tons of creators, and very project‑based content, which feels motivating when you just want to see something move on screen. Lately, AI tools such as Krikey AI push this even further: you type a prompt, tweak a template, and get a full 3D animation without fully understanding rigs or keyframes. This can be amazing for testing ideas or building confidence, but the downside is that your fundamentals may stay pretty shallow.
Free or low‑cost structured platforms often give you a clear path: intro to 3D, modelling, texturing, lighting, animation, then a small project. Compared with random YouTube hopping, you spend less time wondering “what should I learn next” and more time actually practising the right skills in the right order. Some platforms mirror the feel of paid diploma programs, just shorter and lighter: modules, mini‑assignments, sometimes even simple feedback or community critique. You may not blast through flashy shots as quickly as with AI templates, but after a few months you usually understand workflows, file management, and basic production habits much better, which actually makes you faster and more independent down the road.
Getting into 3D animation can feel expensive and confusing, but it really doesn’t have to be. Blender is free, runs well on a typical home setup, and there are loads of no‑cost resources online if you know where to look and how to organize them into a clear path.
There isn’t a neat Canadian “official list” of free Blender courses, so you’re mostly pulling from community spaces. A practical starting point is Blender’s own documentation and step‑by‑step beginner guides, then matching each chapter with a specific YouTube playlist. Many creators focus on complete projects: modelling a simple room, adding lighting, then rendering a short animation. That format lets you see an idea from block‑out to finished shot. Along the way, you can bookmark tutorials on facial rigs, shape keys, and using free FBX models, and keep them in a shared note so your links don’t disappear into browser chaos.
Because everything is scattered, the trick is to turn random videos into a weekly plan. One friendly approach is: week one for navigation and basic modelling, week two for materials and lighting, week three for animation, then week four for rendering and add‑ons like Physical Fog. For each week, pick one core playlist plus one small “challenge,” such as animating a bouncing ball or a short camera move. As you go, swap in more advanced topics that match your goals, whether that’s game assets, character work, or motion graphics, so your roadmap grows with you instead of staying “beginner forever.”
Q1: What are the core stages in the 3D animation pipeline that beginners should understand?
A1: 3D animation usually follows a clear pipeline: start from an idea, then model objects, add materials, set up lighting, animate movement, and finally render finished images or video.
Q2: Why is Blender a good starting tool for aspiring 3D animators in Canada?
A2: Blender is completely free, runs on most home computers, and has huge amounts of beginner‑friendly tutorials. You can follow project playlists step by step without paying tuition.
Q3: What essential skills should beginners focus on in their first weeks with Blender?
A3: Early on, focus on smooth navigation, selecting objects accurately, simple modeling from basic shapes, keeping clean topology, and undoing mistakes calmly to build strong habits.
Q4: Which core artistic and technical skills help new animators move beyond basic button‑pushing?
A4: Key skills include understanding materials and lighting, building small complete scenes, practising simple animations like bouncing balls, and following structured, project‑based exercises regularly.
Q5: Where can Canadians find good free 3D animation and Blender courses online?
A5: Start with Blender’s official documentation, then pair each chapter with curated YouTube playlists. Add community resources, project‑based videos, and organize them into a weekly learning roadmap.